Cracking Creativity with Kool-Aid Dyed eggs
on Mar 10, 2024, Updated Mar 18, 2024
This post may contain affiliate links. Please read our disclosure policy.
Do you have Kool-Aid packets in your pantry that you won’t actually let your kids drink? use them for Easter egg dyes! My kids loved dyeing their eggs with Kool-Aid. Bonus – it smells good! Here’s how to dye Easter Eggs with Kool-Aid if you’d like to try too!
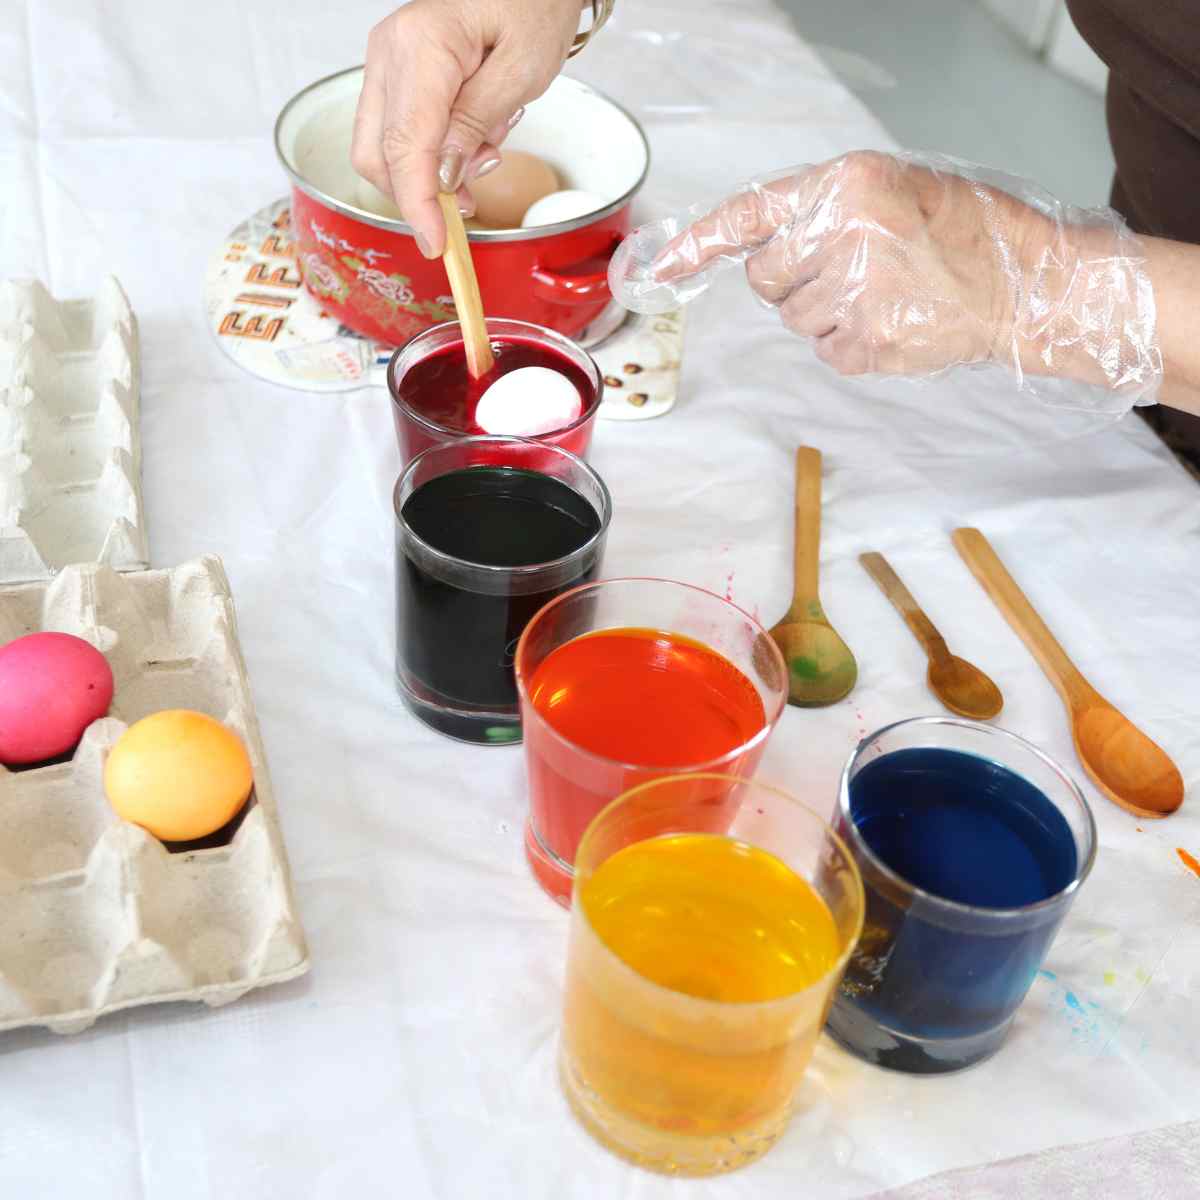
Table of Contents
How to Make Kool-Aid Dyed Eggs
A few years ago, we used natural material to dye Easter Eggs. I thought about doing that this year, but when I looked through my panty and cupboard, I couldn’t come up with much to use. I also didn’t want to run to the store for one of those overpriced chemical laden PAAS dye kits.
Instead, I found a whole bunch of Kool-Aid packets I got for free last year after sales and coupons. We used Kool-Aid last year to dye beautiful Waldorf silks, but I had a bunch left over. Since I won’t let my kids drink the nasty stuff (mean mom…), I decided to use it up on Easter Eggs!
Pin this now to find it later
Pin It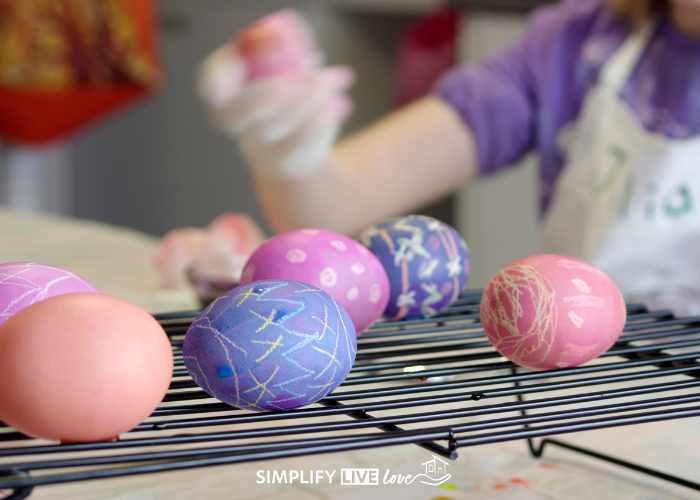
Materials Needed for Kool-Aid Easter Eggs
Kool-Aid makes a vibrant dye for eggs and you need just a few things to get started.
- Hard-boiled eggs: Before coloring Easter eggs, make sure the eggs are clean and free of cracks.
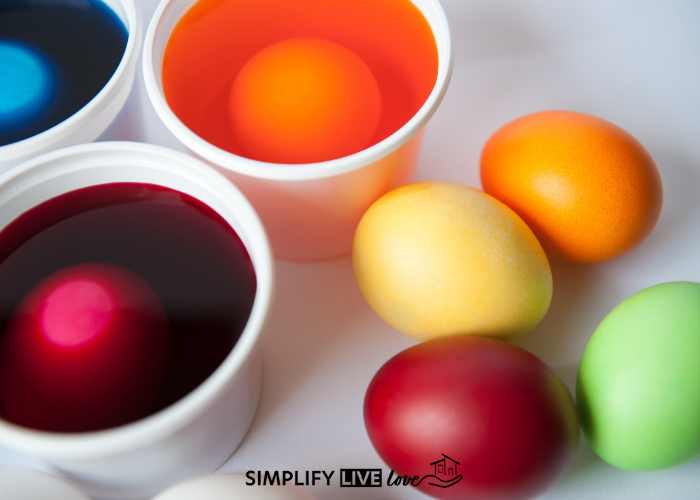
- Kool-Aid packets: We had the best results with the vibrant flavors such as berry blue, grape flavored, lemon, and orange.
- Spoon
- Warm water
- White Crayon (optional): Draw designs on your eggshell before dyeing. Wherever the crayon was used will not change color.
- Vinegar (optional)
Steps to Kool-Aid Dyed Eggs
Mix a packet of Kool-Aid with one cup warm water in a small bowl or Mason jar. Stir it well until the Kool-Aid granules are all dissolved and mixed in.
I added a splash of vinegar as well. It probably wasn’t necessary but that’s what I did. 🙂
Leave the eggs in the dye for 15-30 seconds or longer. The longer you leave them in the dye, the more vibrant the color will be. Use your spoon to move the dyed Easter eggs in and out of the jars or bowls. Be careful the egg doesn’t drop though. You do not want cracks!
When we left ours in the dye for a while the water started to bubble and they got speckled. It’s almost like the vinegar is eating the color. I’m sure it’s some chemical reaction with the vinegar…but I’m not a scientist and don’t know. If you happen to know, leave a comment! Our very speckled ones were left in the dye for 10 minutes.
We colored some of them with a white crayon first to get designs. My kids love doing this to get different patterns or write their names on some of the eggs.
Dab the dyed eggs with paper towels before putting them back in the egg carton. Dabbing in different ways can vary the patterns on the eggs, too. My kids love experimenting with this.
Our Kool-Aid eggs turned out great! We used them alongside our Ukrainian eggs from last year.
Dyeing eggs together is one of my favorite family traditions. The kids love the creativity and mess. I love watching them experiment. They aren’t nearly as messy now that the kids are older, either!


I am glad that Flat Stanley could have fun helping you color eggs!
So fun to see Flat Stanley! Our 1st and 2nd graders have him as a project each year. This summer my soon to be 1st grader will be taking him to the historic sites in our area.
I need to figure out how to blow out the insides of the eggs since my family, except, me doesn’t like to eat eggs. Any tips? Is it possible to keep the yolk whole so I can separate the white and yolk?
I love this idea!!! Thanks so much for sharing! xoxo- Rachel
Oh and your kids crack me up! 🙂
I just featured these! http://bubblynaturecreations.com/2012/04/project-party-weekend-wrap-up-fun-finds.html
Great job!!!
It looks like you guys had so much fun! I would love for you to link up at my Linky Party via:http://ourdelightfulhome.blogspot.com/2012/04/show-me-what-you-got-linky-party-8.html
Mrs. Delightful
http://www.ourdelightfulhome.blogspot.com
I can’t wait to try this! Thanks so much for sharing at Mix it up Monday 🙂
Thanks for linking up, and…. YOU’VE BEEN FEATURED!!!
That’s so sweet! Thanks, Carrie!!
whooops, here’s the link:
http://makinglemonadeblog.blogspot.com/2012/04/refresh-your-nest-friday-27.html
This post is being featured tonight @CountryMommaCooks Linky Party, stop by and pick up a button if you don’t already have one:)
Thanks! I pinned this one & we’ll try it this year.
You’re welcome, Georgia! Have fun!