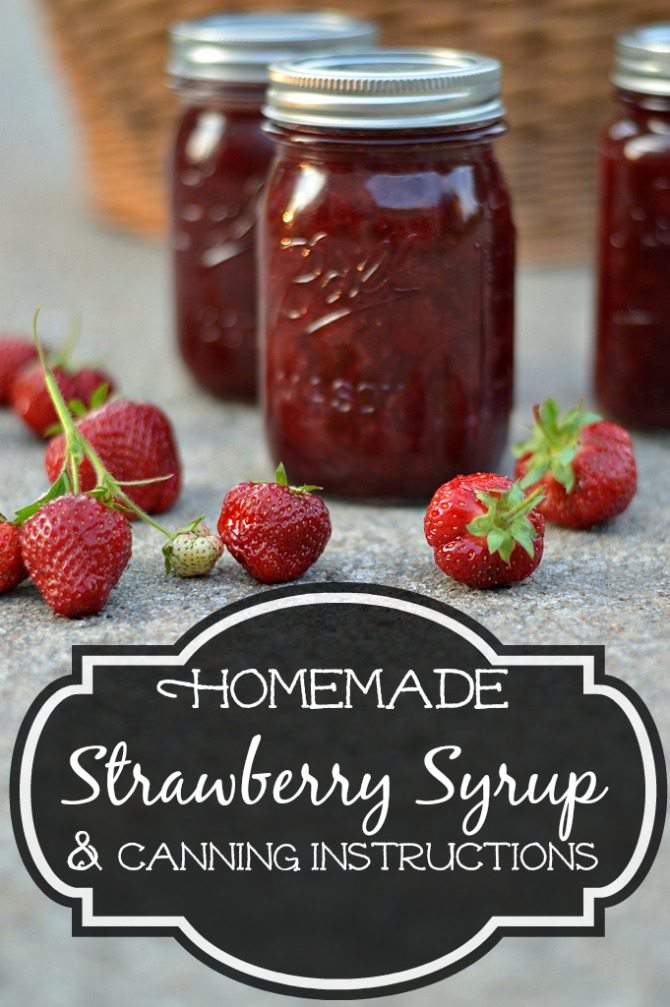
Homemade Strawberry Syrup Recipe for Canning (No Pectin, Water Bath Safe)
on May 04, 2026
This post may contain affiliate links. Please read our disclosure policy.
This homemade strawberry syrup recipe is one of my favorite ways to preserve a bumper crop of fresh strawberries. Made with just 4 simple ingredients — no pectin required — it’s water-bath canned in pint jars and stays shelf-stable for up to 18 months. Pour it over pancakes, waffles, or ice cream, stir it into lemonade, or crack open a jar in February when you need a taste of summer.
Why you’ll love this recipe:
- Only 4 ingredients — strawberries, sugar, lemon juice, and vanilla
- No pectin needed
- Works with fresh or frozen strawberries
- Water-bath canning safe (naturally high acidity from the fruit and lemon juice)
- Shelf-stable for up to 18 months; ready in about 75 minutes
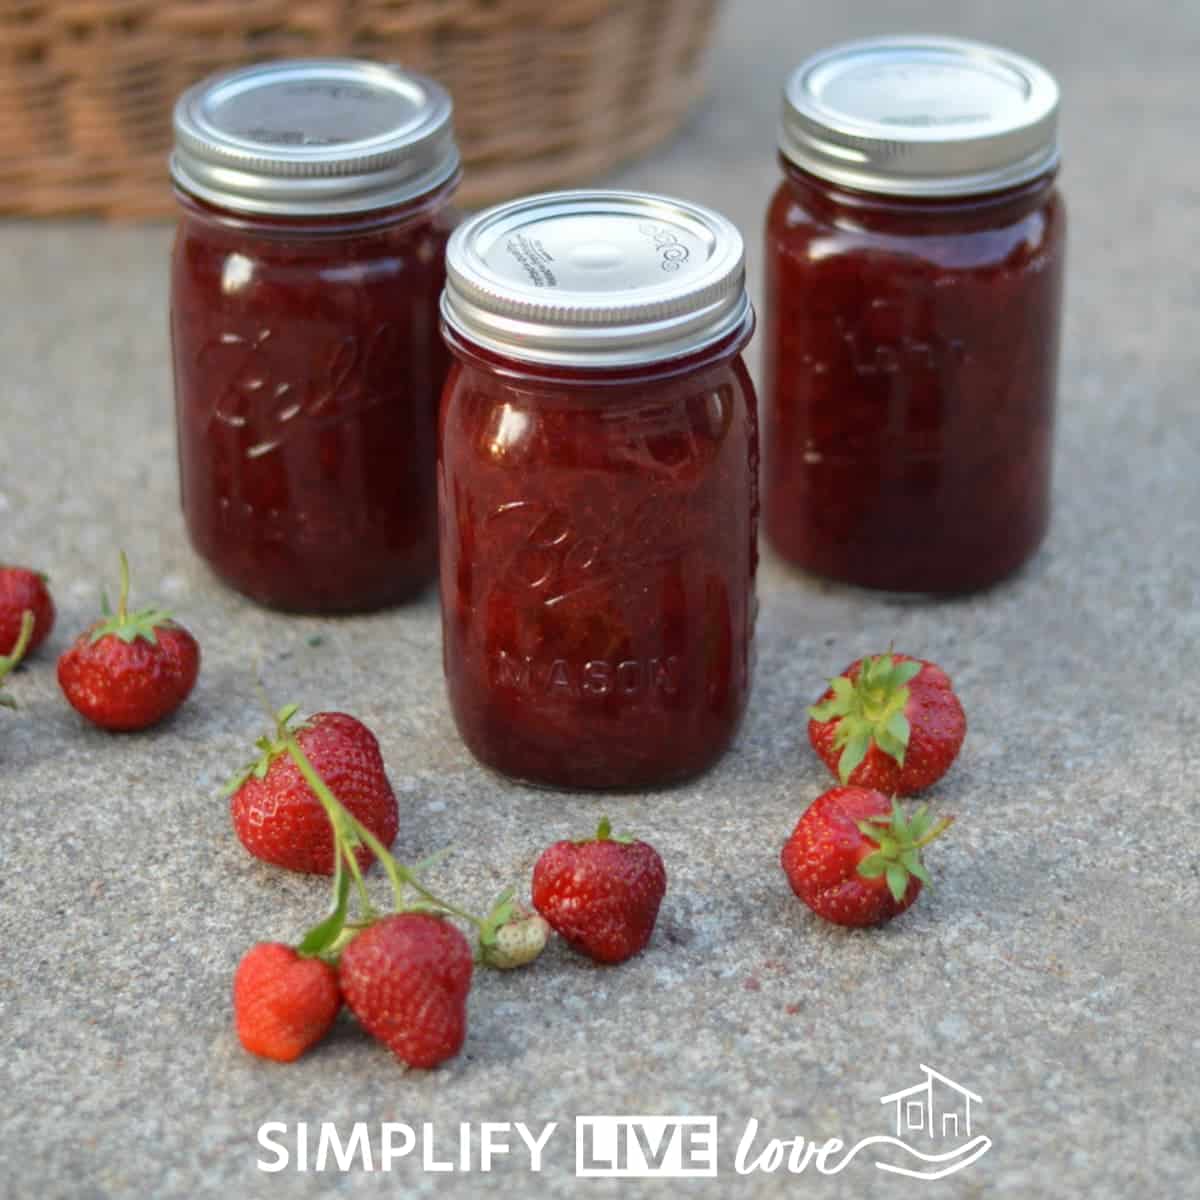
Table of Contents
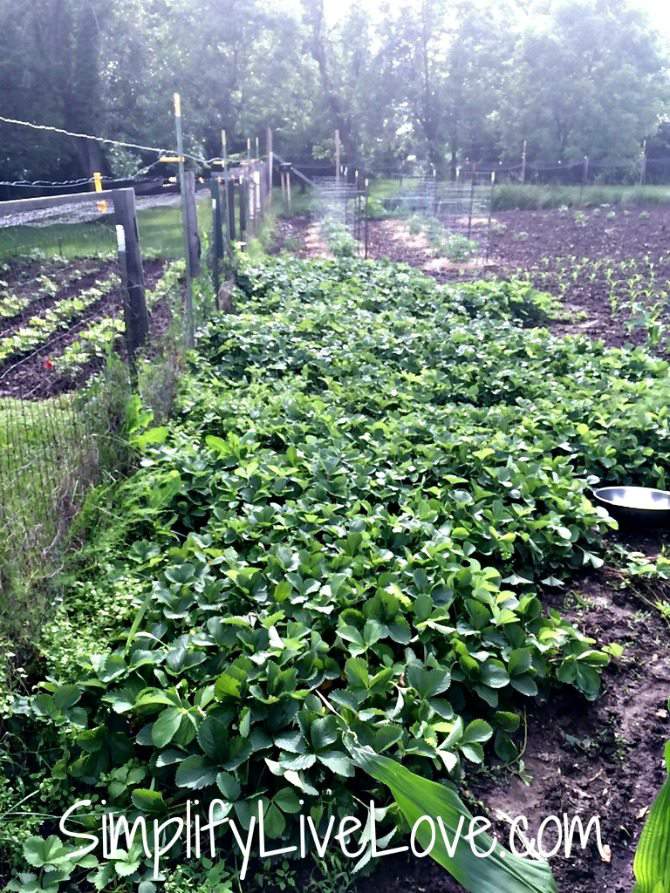
My dad had the most gorgeous strawberry patch in Central Missouri, and one summer we found ourselves with so many berries we couldn’t eat them all fast enough. That’s how this recipe was born — to keep those beautiful berries from going to waste. I’ve been making it ever since.

Strawberry Syrup Ingredients
For the syrup:
- 4½ quarts (about 18 cups) fresh strawberries, washed, hulled, and quartered or halved
- 4 cups sugar (I love demerara or raw cane sugar for its rich, molasses-like flavor — but any granulated sugar works perfectly)
- Juice of 1 lemon (about 3–4 tablespoons)
- 1 teaspoon pure vanilla extract
For canning:
- Canning funnel and jar lifter
- Ball pint canning jars (about 5–6 pints)
- Lids and rings – we love these reusable Tattler rings!
- Water bath canner – I have Ball’s Electric Water Bath Canner and it is fantastic!
How to Make Homemade Strawberry Syrup

Step 1: Prepare the strawberries
Wash and hull your berries, then cut them into halves or quarters. Small berries can be left whole. Place them in a large, heavy-bottomed pot — bigger than you think you need, because this mixture will bubble up significantly when it boils.
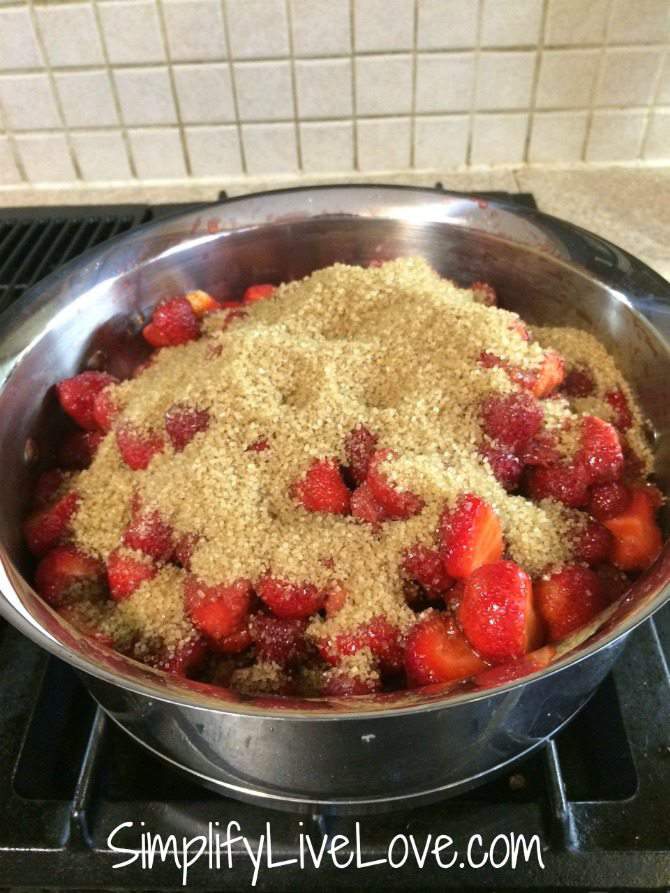
Step 2: Cook the syrup
Add the sugar to the pot with the strawberries and bring everything to a boil over medium heat, stirring occasionally. Once it reaches a boil, reduce the heat to low and let the mixture simmer uncovered for 30–45 minutes, until it has reduced by about one-third and turned thick and syrupy.

Step 3: Finish the syrup
Turn off the heat. Stir in the lemon juice and vanilla extract and mix well. At this point the syrup is ready to eat — warm over pancakes, spooned over ice cream, or cooled and refrigerated for up to 3–4 weeks. If you’d like to preserve it for long-term storage, continue to the canning steps below while the syrup is still hot.
Canning Instructions
Step 1: Sterilize your jars
While the syrup is simmering, sterilize your jars by boiling them in your water bath canner for 10 minutes, or by running them through a hot dishwasher cycle. Keep the jars hot until you’re ready to fill them — this prevents cracking when you add the hot syrup.

Step 2: Prepare lids and rings
Place lids and rings in a small saucepan of hot (not boiling) water. Do not boil the lids — it can reduce their sealing effectiveness.
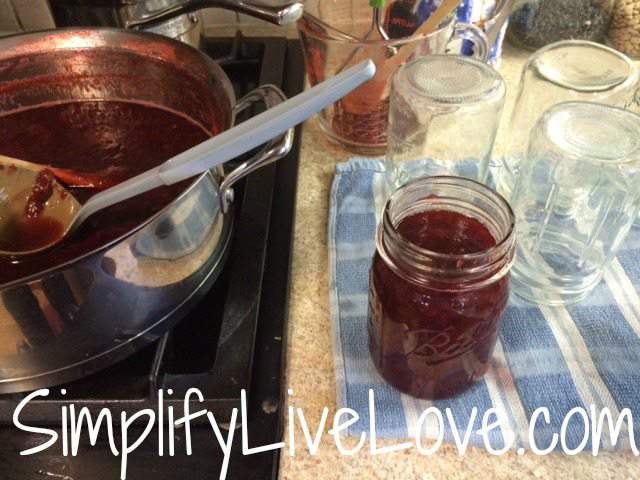
Step 3: Fill the jars
Using a canning funnel and ladle, carefully fill each hot jar with the hot strawberry syrup, leaving ¼ inch of headspace at the top of each jar. Headspace matters — too little and the jar may not seal; too much can affect preservation.
Pin this now to find it later
Pin ItStep 4: Wipe rims and seal
Wipe the rim of each jar with a clean, damp cloth to remove any syrup. Place the lid on and screw the ring down until fingertip-tight — snug but not over-tightened.

Step 5: Process in the water bath canner
Lower the filled jars into the boiling water bath canner, making sure they are fully submerged by at least 1 inch of water. Process (boil) for 15 minutes. Turn off the heat and let the jars rest in the water for 5 minutes before removing.
Note: If you live at an altitude above 1,000 feet, you’ll need to increase your processing time. Check Ball’s Guide altitude adjustment chart for the correct time for your elevation.

Step 6: Cool and check seals
Using a jar lifter, remove the jars and place them on a clean towel. Leave them undisturbed for 24 hours. You’ll hear the satisfying “pop” of the lids sealing as they cool.
After 24 hours, press the center of each lid — it should be firm and not flex up and down. Any jars that didn’t seal properly should be refrigerated and used within 3–4 weeks, or you can reheat the syrup and reprocess in a clean jar.
Storage & Shelf Life
- Shelf-stable (sealed jars): Store in a cool, dark place for up to 18 months.
- After opening: Refrigerate and use within 3–4 weeks.
- Refrigerator (no canning): Syrup keeps for 3–4 weeks in an airtight container.
- Freezer: Pour cooled syrup into freezer-safe containers and freeze for up to 6 months.
Ingredient Notes & Substitutions
Strawberries: Fresh is best when they’re in season, but this recipe works beautifully with frozen strawberries too. If using frozen, thaw them completely first and drain any excess liquid before cooking — your cooking time may be slightly shorter.
Sugar: I love demerara or raw cane sugar for its rich, slightly caramel-y flavor, but any granulated sugar — white, cane, or turbinado — works fine. The syrup will taste slightly different depending on which you use. I do not recommend substituting honey without finding a recipe specifically formulated for honey in canning, as it can affect the pH and safe preservation.
Lemon juice: The lemon juice boosts the bright strawberry flavor and contributes to the natural acidity that makes this syrup safe for water-bath canning. Don’t skip it. Bottled lemon juice works in a pinch, but fresh gives a noticeably better flavor.
Vanilla: This is my secret touch. It rounds out the sweetness and makes the syrup taste a little more special. Pure vanilla extract is worth it here.

10 Ways to Use Strawberry Syrup
Once you’ve got a few jars on the shelf, you’ll find yourself reaching for them constantly. Here are some of my favorite ways to use it:
Drizzle over french toast or crepes
- Drizzle over German pancakes — this is the combination that started it all for me
- Top pancakes or waffles — a classic for good reason
- Spoon over vanilla ice cream or cheesecake
- Stir into lemonade or sparkling water for a fresh strawberry soda
- Mix into plain yogurt or oatmeal for breakfast
- Use as a cake soak — brush over cake layers before frosting to add moisture and strawberry flavor
- Stir into strawberry milk — strain first for a smoother texture
- Add to cocktails and mocktails — pairs beautifully with prosecco or club soda
- Use as a glaze for grilled pork tenderloin or chicken
More canning recipes you’ll love:
- Grandma’s Secret Dill Pickles
- The Lazy Person’s Guide to Canning Crushed Tomatoes
- Pineapple Jalapeno Relish
- Easy, Homemade Roasted Tomato Sauce
Frequently Asked Questions
How long does canned strawberry syrup last? Properly processed and sealed jars stored in a cool, dark pantry will last up to 18 months. Once opened, refrigerate and use within 3–4 weeks.
Can I use frozen strawberries? Yes! Thaw them completely first and drain off some of the excess liquid. The recipe works the same way — just watch your cooking time since pre-softened berries may reduce faster.
Can I make a smaller batch? Absolutely. This recipe scales down easily. A half batch (about 2¼ quarts of berries) will yield approximately 2–3 pints. The canning process and times stay the same regardless of batch size.
Do I need pectin? No. This recipe does not use pectin. The syrup thickens naturally by reducing on the stove. If you want it thicker, simply simmer it a bit longer. Keep in mind it will also thicken slightly as it cools.
How much headspace should I leave? Leave ¼ inch of headspace in each jar. Too little space can prevent proper sealing; too much can cause the syrup at the top of the jar to darken over time.
Is this recipe safe for water-bath canning without added pectin? Yes. Strawberries are naturally high in acid, and the added lemon juice ensures the pH stays safe for water-bath canning. This recipe does not require pressure canning.
Why did my jars not seal? The most common causes are: syrup or residue on the jar rim before sealing, lids that weren’t properly warmed, or the rings being screwed on too tightly. If a jar doesn’t seal, refrigerate and use within 3–4 weeks, or reheat the syrup and reprocess in a clean, sterilized jar.
Can I substitute honey for sugar? I don’t recommend it for canning without testing. Honey changes the pH of the syrup in ways that may affect safe preservation. If you want to use honey, look for a tested honey-based canning recipe.

Homemade Strawberry Syrup Recipe and Canning Instructions
Ingredients
For the Syrup
- 4 1/2 quarts fresh strawberries, washed and quartered or halved
- 4 cups demerara sugar
- juice of one lemon
- 1 tsp vanilla
For canning
- Ball pint canning jars
- Lids & Rings
- Water bath canner
- Canning supplies like funnel and magnet lid lifter
Instructions
To make the syrup
- Prepare strawberries and place in large pot. Add sugar and bring to boil over medium heat.
- Reduce heat to low and simmer until the mix reduces by about a third, 30-45 minutes. Turn off heat.
- Add fresh lemon juice and vanilla and stir well.
To can the syrup
- Sterilize jars by boiling them in the water bath canner or washing them in the dishwasher.
- Bring water to boil in the water bath canner.
- Prepare jar lids rings by heating them briefly in hot water. Do NOT boil the lids as this is supposed to decrease their ability to seal (though I’ve boiled them before accidentally and they almost always seal).
- Ladle hot syrup into jars leaving 1/4" headspace.
- Wipe down the top of the jar and put on the lid and ring.
- Tighten rings as much as you can and then put the jars in the boiling hot water bath canner.
- Lower the jars into the water to make sure they are completely submerged by the water.
- Boil the jars for 15 minutes.
- Remove jars from water bath canner, place on towel and leave alone for 24 hours.
- Check the seal on the jars. If any didn’t seal, you can bring the syrup back to boil and try again.
Notes
- Altitude adjustment: Increase processing time by 5 minutes for every 1,000 feet above sea level.
- Headspace: Always leave exactly ¼ inch — don’t skip this step.
- Frozen strawberries: Thaw completely and drain before using.
- Smaller batch: Recipe halves easily; processing time stays the same.
- No canning? Cool syrup completely and refrigerate in an airtight jar for up to 3–4 weeks, or freeze for up to 6 months.
Nutrition


I’ve tried to read the recipe that you mention ….. but,,,,,, too many pop up ad’s kept me from actually folllow the recipe.
That’s really strange, and I’m sorry. I don’t have any pop up ads on my blog so I wonder what’s going on!
DFW, I’m checking into this. Are you reading from a mobile device or from a computer? Any help pinpointing a specific ad thats causing the problem? I’d like to figure this out so it’s not annoying for people. 🙂
I, too, am having multiple pop up ads.
I’m on my iPhone. However, when I find a recipe I want o try, I usually go to my computer & print it off.
No ads that way!
I’m on my iPad and I, too get MANY pop-up ads. It makes me rather annoyed with google! But…I’ve got to do something with excess strawberries (overestimated the space I had left in the freezer!) and your syrup sounds DELICIOUS, so I’ll wade thru ads! Sweet of you to help with your Grandpa.
Yum! I could eat that with a spoon!
Perfect! I have fresh strawberries that need to be made into THIS syrup! Thanks so much for the handy recipe and canning instructions. My pantry is getting stocked!
I am craving strawberry syrup now! Thanks for the recipe.
Approx how many cups is 4-1/2 was of strawberries?
Hi Shelley, A quart is 4 cups, so about 18 cups of strawberries. 🙂
How many pints did this make.?
Hi Kristy, it made 5 pints plus a little extra. 🙂
my mother always told me to fill my jars to the brim so as to reduce the amount of air and in so doing extend the life of your preserve. I noticed the air space in yours and was wondering how long your shelf life is for your syrup?
Hi Caron, everything I’ve read about canning says to leave 1/4 inch air space in canning jars. I’m honestly not sure on the shelf life, but so far, so good! It’s so delicious, and I didn’t make that much, so it won’t last a year. 🙂
yes you have to leave headspace, otherwise your jar can bus. and preserves is a little different than syrup also.
Great article, thanks for sharing and teaching me something new. 🙂
You’re welcome, Kristi! I hope you make the syrup and enjoy it. <3
My Daddy makes thickened strawberries from their overhaul of strawberries. Served over toast, it is one of my favorite breakfasts! I would go through all that mud to get to those strawberries, too 😉
No mud is too much for strawberries!! This syrup is also fabulous on waffles & pancakes! 🙂
This looks so delicious. Since we moved and had to downsize, I had to get rid of all my canning equipment. This makes me wish I still had it.
Just made this and it was so delicious! I use half raw sugar and half white sugar as that was what I had available and used bottles lemon juice instead. Thank you for sharing the recipe.
I’m so glad you liked it! Thanks for letting me know. 🙂
Made this again this year and it is just as delicious as the first time. We love having it on yoghurt and also icecream! YUMMM!
Yay! I’m so glad you like it. 🙂
I am doing canning for presents this year thank you for this receipe!
oh Yay! That makes me so happy, Marilyn. They’ll love it. If you have an extra jar, send me one too. 😉
Thank you for the recipe and the cute story. I am writing on a freezing February night facing two pounds of grocery store (white interior shipping berries) strawberries hoping to grab a taste of warmer days! If I get 2 pints out of my 2 lbs I will steam can the second one on low pressure in my instant pot… easy way to still can small amounts it out dragging the canner out!
Would this be good to make strawberry milk?
I’ve never tried it – it might be good for strawberry milk as long as you don’t mind strawberry chunks?
Can you give instructions on smaller batch? It’s only my husband and I so don’t need this much.
I realize this is coming almost a decade after publishing, but can this recipe be modified for honey instead of sugar? Does exchanging that change any of the canning instructions or would that be the same?
how much headspace?
Hi, 1/4 inch headspace. 🙂
Can I use berries that I cut in half and froze?
Would I still use 18 cups when measuring if they are cut or should I go by weight and use 6.5#
Thanks!